
Use Case
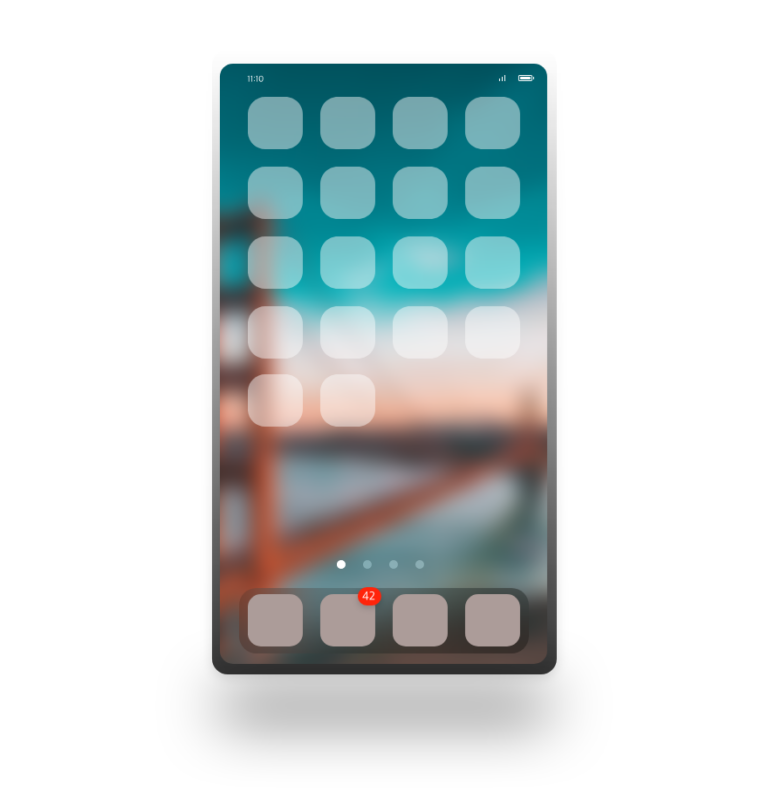
Let’s say we have a mono repository with a core library and some core components that should be used in different Angular applications. One of those components is a button component with a badge notification. In the main branch of our repository, it looks like the screen below.
The source code for the sample used in this article is available in this GitHub repo: github.com/thinktecture-labs/article-visual-testing-angular-storybook
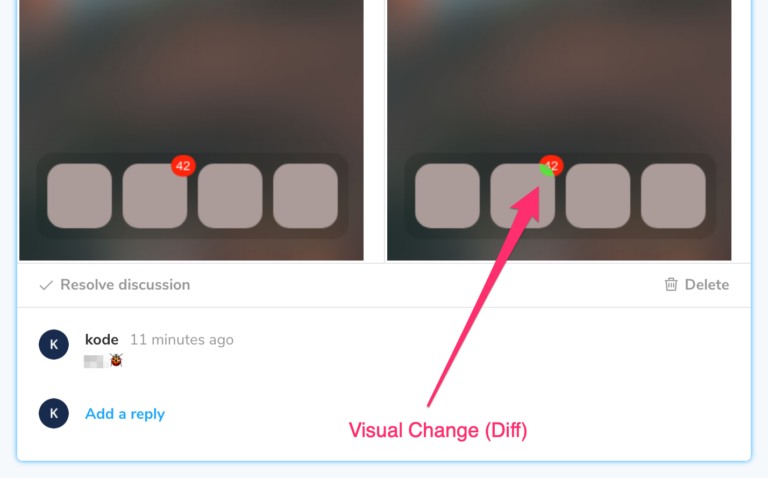
In one of our feature branches, we created new components and changed some CSS variables. Let’s get this bug in the application: the badge notification with the number 42 is now located behind our button, because the z-index is wrong:
Manual vs. Automatic Tests of Angular Components
Indeed you can find such a bug by having many human test users. This manual testing requires resources and test plans before each release, though.
Another way is the use of automatic tests. Most developers are already familiar with unit tests, responsible for testing internal low-level logic without dependencies. In our case, we want to write integration tests to test the interaction of several components, like button and badge. Of course, we could set up a test that checks several CSS styles, e.g. to test badge’s z-index and buttons, but these tests would be very long, unreadable, and complicated. Instead, we will write visual tests based on image snapshots.
Visual Regression Tests
Visual tests create an image snapshot of a component in a specific state. In our use case, I made the first image snapshot of the button with the badge and merged it into the main branch before the error has crept in. We call these snapshots baseline.
Each build process in the new feature branches should
- run the visual tests,
- create new image snapshots, and
- compare them against the baseline.
One (commercial) framework that supports this approach is Chromatic.
Visual Regression Tests with Storybook and Chromatic
Setup
Add the required Storybook tooling into your repo path if not already installed:
npx sb init
Install the Chromatic CLI:
npm install --save-dev chromatic
The CLI builds and publishes your Storybook project. We need a project-token for authentication with Chromatic before the CLI can publish the local version on the Chromatic site to see the visual changes. Therefore you have to visit https://www.chromatic.com/start and create a new project based on a project from your linked account (e.g. GitHub, GitLab, Bitbucket), or scratch.
Publish & Run
Now you should see a screen like this:
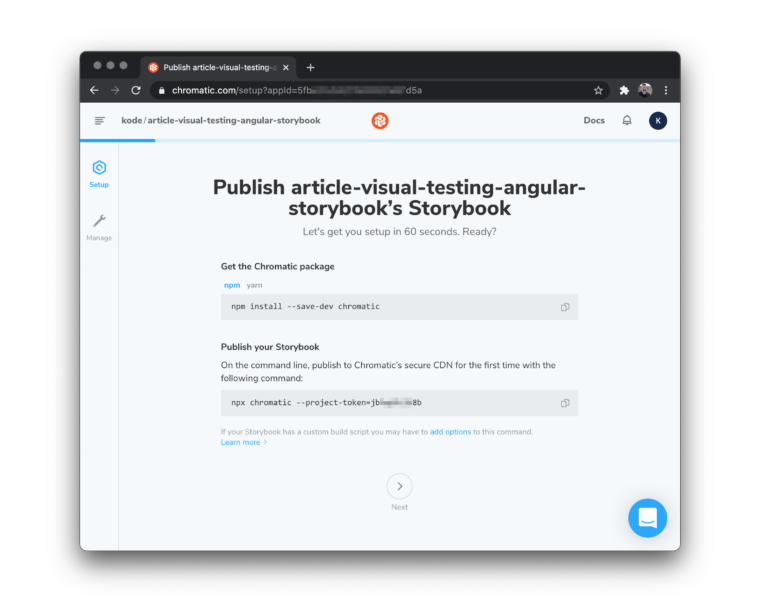
To create the baseline snapshots, we should check out the main branch and build and publish the Storybook project with the following command:
npx chromatic --project-token=PROJECT_TOKEN
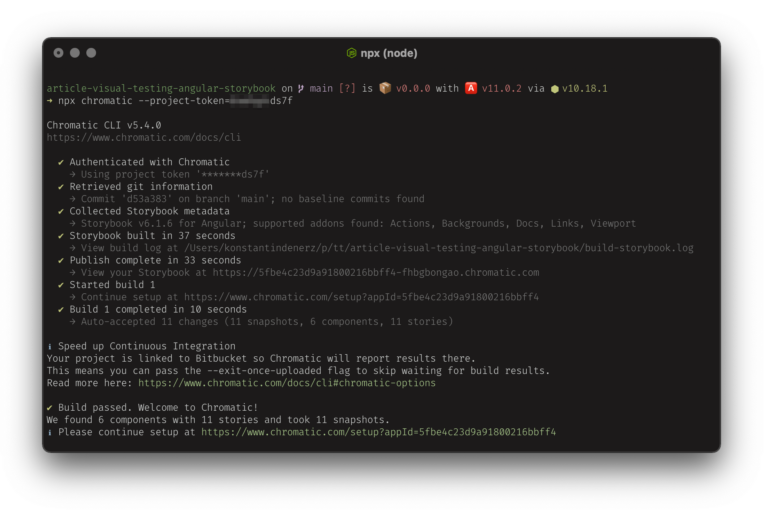
The project token in the command above is available on the initial screen or Chromatic’s manage page. The screen below shows the output of the command.
Visual Changes
The next step is to create, for example, a new component in the feature/chip-component branch. After commit and push to the linked version control service, we can create a pull request. This pull request is now visible in Chromatic, but it requires additional action. This action is usually carried out by a continuous integration (CI) build, but we can run it locally, too:
Check out the feature branch if not done yet:
git checkout feature/chip-component
Publish the Storybook from our feature branch:
npx chromatic --project-token=PROJECT_TOKEN
And this is the result we are longing for: now you can review the visual changes and accept or deny them:
By the way, find my published Storybook here.
Summary
In this article, you saw an easy way for visual testing of Angular components with Chromatic, a commercial product (we are not related to that company in any way, BTW). Of course, you can also do so without Chromatic and, for example, rely on your own implementation. The steps are equal: build Storybook in the feature branch, create image snapshots (on your own with your own tooling), and compare them with the baseline.